Monitor Light Bar Buying Guide: Specs That Matter
A monitor light bar buying guide built on specs: desk lux targets, CRI with a published R9, bar length, USB power budget, and bezel fit checks.
Monitor light bars are sold on adjectives. Product pages promise “eye protection”, “no glare” and “sunlike light”, and almost none of them publish the four or five numbers that decide whether the fixture will actually work on your desk. This guide is organised around those numbers, in the order they matter, so you can read a spec sheet and know within a minute whether a bar is worth considering.
If you have not read the underlying photometrics yet, start with desk lighting for screen work, which covers the lux targets and glare geometry this guide assumes.
What a light bar is actually for
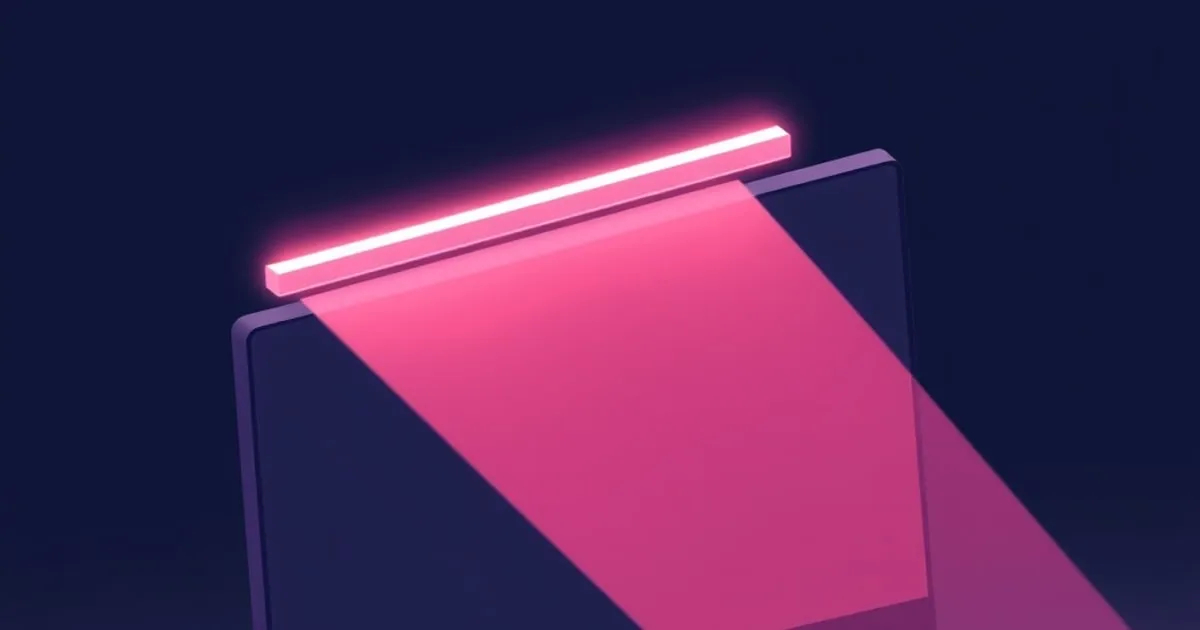
A light bar clamps to the top bezel of a display and throws light forward and down onto the desk in front of it. The optics are asymmetric: the reflector is cut so that almost nothing travels backward onto the panel. That single property is the whole product. A desk lamp mounted high enough to cover the same area sprays light onto the screen and lowers its effective contrast; a bar aimed correctly does not.
So the buying question is never “how bright is it”. It is: does this fixture put a usable amount of light on the desk, at a colour quality you can live with, without putting any on the screen, on a mount that fits your monitor and a power feed that can actually run it.
Spec 1: illuminance and coverage
Manufacturers advertise lumens, or worse, watts. Neither tells you how bright your desk will be, because illuminance falls off with distance and depends entirely on how the beam is shaped. What you care about is lux at the work surface.
The figure to hold in your head while reading spec sheets is 300 to 500 lux at the desk for mixed screen-and-paper work. That sits inside the office range OSHA’s Computer Workstations eTool documents, and the derivation from foot-candles, plus how to measure your existing desk against it, is in desk lighting for screen work.
The number a bar can honestly claim is peak illuminance at a stated distance, usually something like “500 lux at 45 cm”. Two things follow:
- A peak figure is a single point. Illuminance at the edges of the pool is far lower. If a bar quotes 1,000 lux with no distance and no falloff, treat the number as marketing.
- Coverage is a length problem. A bar lights a band roughly as wide as the fixture plus a spread. On a 27-inch display, a bar in the 40 to 50 cm range covers the working area in front of the monitor; it will not light a 150 cm desk end to end, and no bar will. Wide desks need a second fixture off to the side, or ambient light doing the rest.
The desk lux calculator on this site works the target the other way round: pick the task, and it gives the illuminance you should be aiming for and a bar length proportional to your display, so you can compare that against what a product claims.
Spec 2: colour fidelity, and the number vendors hide
Take the thresholds as given: the Department of Energy’s LED Basics recommends a minimum CRI of 80 for interior lighting and describes 90 or higher as excellent fidelity. Why general CRI, written Ra, says almost nothing about deep saturated red is worked through in desk lighting for screen work. What matters at the point of purchase is the consequence: the deep-red sample is R9, it is reported separately, and light bar listings almost never carry it.
So the rule is not “find a high CRI number”. Every bar in the category claims one. The rule is:
- Ra 80 or better for general desk and screen work. Table stakes. A bar that will not state it is disqualified on a figure no manufacturer has an excuse for omitting.
- Ra 90-plus with a published R9 for photo, video, print, painting, or soldering colour-coded components. If R9 appears nowhere in the listing, the manual, or the manufacturer’s own product page, treat the Ra figure as unverifiable rather than as a number you can compare against a rival’s.
- Discount the marketing tier entirely. “Sunlike”, “full spectrum” and “Ra 97” carry no external check on a desk fixture. The ENERGY STAR lamps programme used to force the pairing, requiring an LED lamp to reach Ra 80 and an R9 above zero, but EPA sunset the lamps specifications at the end of 2024, so nothing external is verifying the claim now.
The one genuinely positive signal is a spec sheet quoting TM-30 figures, a fidelity index Rf alongside a gamut index Rg. A manufacturer volunteering the harder metric is not the one hiding behind the easy one.
Spec 3: colour temperature and tunability
This spec is really one decision: whether to pay the tuning premium at all. Most buyers pay it and then leave the fixture on one setting forever.
A fixed 4000 K bar is the safe default on a mixed-use desk, for the mixing reason set out in desk lighting for screen work. Tuning earns its premium only when both of these hold:
- The tuning is continuous, not stepped. Three presets at 3000 K, 4000 K and 5700 K is a fixed-CCT fixture with extra buttons. You will settle on one within a week.
- The setting survives a power cycle. This is the one that catches people. A bar fed from a monitor’s downstream USB port loses power every time the display sleeps, so a fixture that wakes at a factory default instead of where you left it hands you a twice-daily adjustment for the life of the product. Check the manual for state retention before checking the price.
A bar that fails either test should be priced against the fixed-CCT models, not against the tunable ones.
Spec 4: dimming behaviour and flicker
Dimming method is the spec that most often separates a comfortable fixture from a fatiguing one, and almost nobody publishes it.
Constant-current dimming lowers the drive current and gives steady output. Pulse-width modulation switches the LED fully on and off and varies the duty cycle, and low-frequency PWM produces temporal light modulation that many people never consciously see but do register as fatigue. The Department of Energy’s flicker research programme notes that driver manufacturers rarely report flicker characteristics at all, and that the reliable way to avoid the problem is a driver strategy using high modulation frequency, above roughly 12,000 Hz, or no PWM at all.
Because the spec is usually missing, this becomes a returns-policy question: buy from somewhere that accepts returns, then run the checks in monitor light bar problems at the fixture’s lowest brightness before the window closes.
Spec 5: power, and why it limits everything above
Most bars are USB powered, and USB is a hard ceiling on output.
A plain USB 2.0 port tops out at 500 mA at 5 V, 2.5 W, under the USB 2.0 specification. SuperSpeed and dedicated charging ports supply progressively more, and the full ladder is in monitor light bar problems.
That makes the buying check arithmetic rather than judgement. Find the bar’s rated draw in mA or watts, find what the specific port you intend to feed it from can deliver, and reject the pairing if the first number exceeds the second. A 5 W bar hanging off a monitor’s USB 2.0 downstream port, or off a passive hub already feeding a keyboard, a webcam and a drive, will dim, flicker at its top setting, or simply refuse to reach full output, and the product page will still have been telling the truth about the fixture.
A bar that states no draw at all is the harder case. Treat an unstated figure as a reason to plan for a wall adapter rather than a USB port.
Where you take power from also decides the on/off behaviour. Fed from the monitor’s downstream port, the bar usually sleeps when the monitor does, which is either the best feature on the product or a daily irritation depending on whether you wanted it. Fed from a wall adapter, it runs independently.
Spec 6: mounting and fit
Counterweight mounts assume a flat top bezel within a certain thickness range, typically a few millimetres to about 3 cm. Check three things against your actual display:
- Bezel thickness and flatness. Very thin bezels give the clip nothing to grip; thick ones can exceed the range.
- Curvature. Heavily curved ultrawides leave a straight bar contacting at one point and rocking.
- Load path. On a monitor arm the extra mass sits at the worst lever point. Check the arm’s rated load range and re-tension the tilt joint afterwards.
Webcam clearance is the fit issue people discover last. A bar occupying the top bezel and a camera clipped to the same bezel rarely coexist; look for a bar with a cutout or plan on mounting the camera elsewhere.
Spec 7: controls
Touch controls on the bar itself are fine if the bar is within reach; on a large display behind a deep desk they are not. A wireless puck or dial is genuinely better ergonomics, and a fixture that remembers brightness and CCT across power cycles saves a daily adjustment. Auto-dimming from an ambient sensor sounds good and is worth exactly nothing if it cannot be disabled, because a sensor pointed at a bright screen chases its own output.
The checklist, in one table
| Spec | What to look for | Reject if |
|---|---|---|
| Illuminance | Lux quoted at a stated distance | Lumens or watts only |
| Bar length | Roughly 1.5 cm per inch of display diagonal (40 to 50 cm for a 27-inch) | Much shorter than the display width |
| CRI | Ra 80+ general, Ra 90+ colour work | High Ra claimed, R9 never published |
| CCT | 4000 K fixed, or continuous tuning with memory | Presets only, no memory |
| Dimming | Continuous, steady at the lowest setting | Visible stroboscopic effect on the pencil test |
| Power | Draw stated in mA or W, adequate port | 5 W device on a shared USB 2.0 hub |
| Mount | Bezel range published, matches your display | Curved panel with a rigid straight clip |
| Controls | Remote or dial, state remembered | Non-defeatable auto-dimming |
What is not worth paying for
RGB modes on a task fixture. “Blue light reduction” claims, which describe a colour temperature change already covered by the CCT spec. Certification badges from bodies that certify nothing measurable. App control on a device that has one setting you will change twice a day.
Where the third layer fits
A light bar solves task illuminance. It does not solve the bright-rectangle-in-a-dark-room problem, which is a surround luminance issue and needs a dim source behind the display instead. The two are complementary rather than competing, and the difference is worked through in bias lighting vs monitor light bar.
Buy the bar for the desk, add the bias layer for the wall, and check the glare geometry after each change rather than turning something up.
Related on this site
Sources
Related

Bias Lighting vs Monitor Light Bar: What Each Fixes
Bias lighting vs monitor light bar: one raises surround luminance behind the screen, the other lights the desk. What each fixes, and the order to add them.

Desk Lighting for Screen Work: Glare, CRI, and Lux Targets
Desk lighting for screen work, done right: OSHA glare guidance, real lux targets, why CRI and R9 matter, and where a monitor light bar beats a lamp.

Best Desk Lamp for Computer Work: 6 Models Compared
The best desk lamp for computer work delivers 300-500 lux without screen glare; six models are compared by lux, CRI, CCT, flicker, and warranty.